Sending vectored artwork allows us to precisely print your graphic or text and is an essential step in our process. If we’ve asked you to provide vectored outlines and you are unsure of how to do so, this guide will help you. We’ll be showing you how to vectorize your image in Adobe Illustrator.
Step 1 - Select
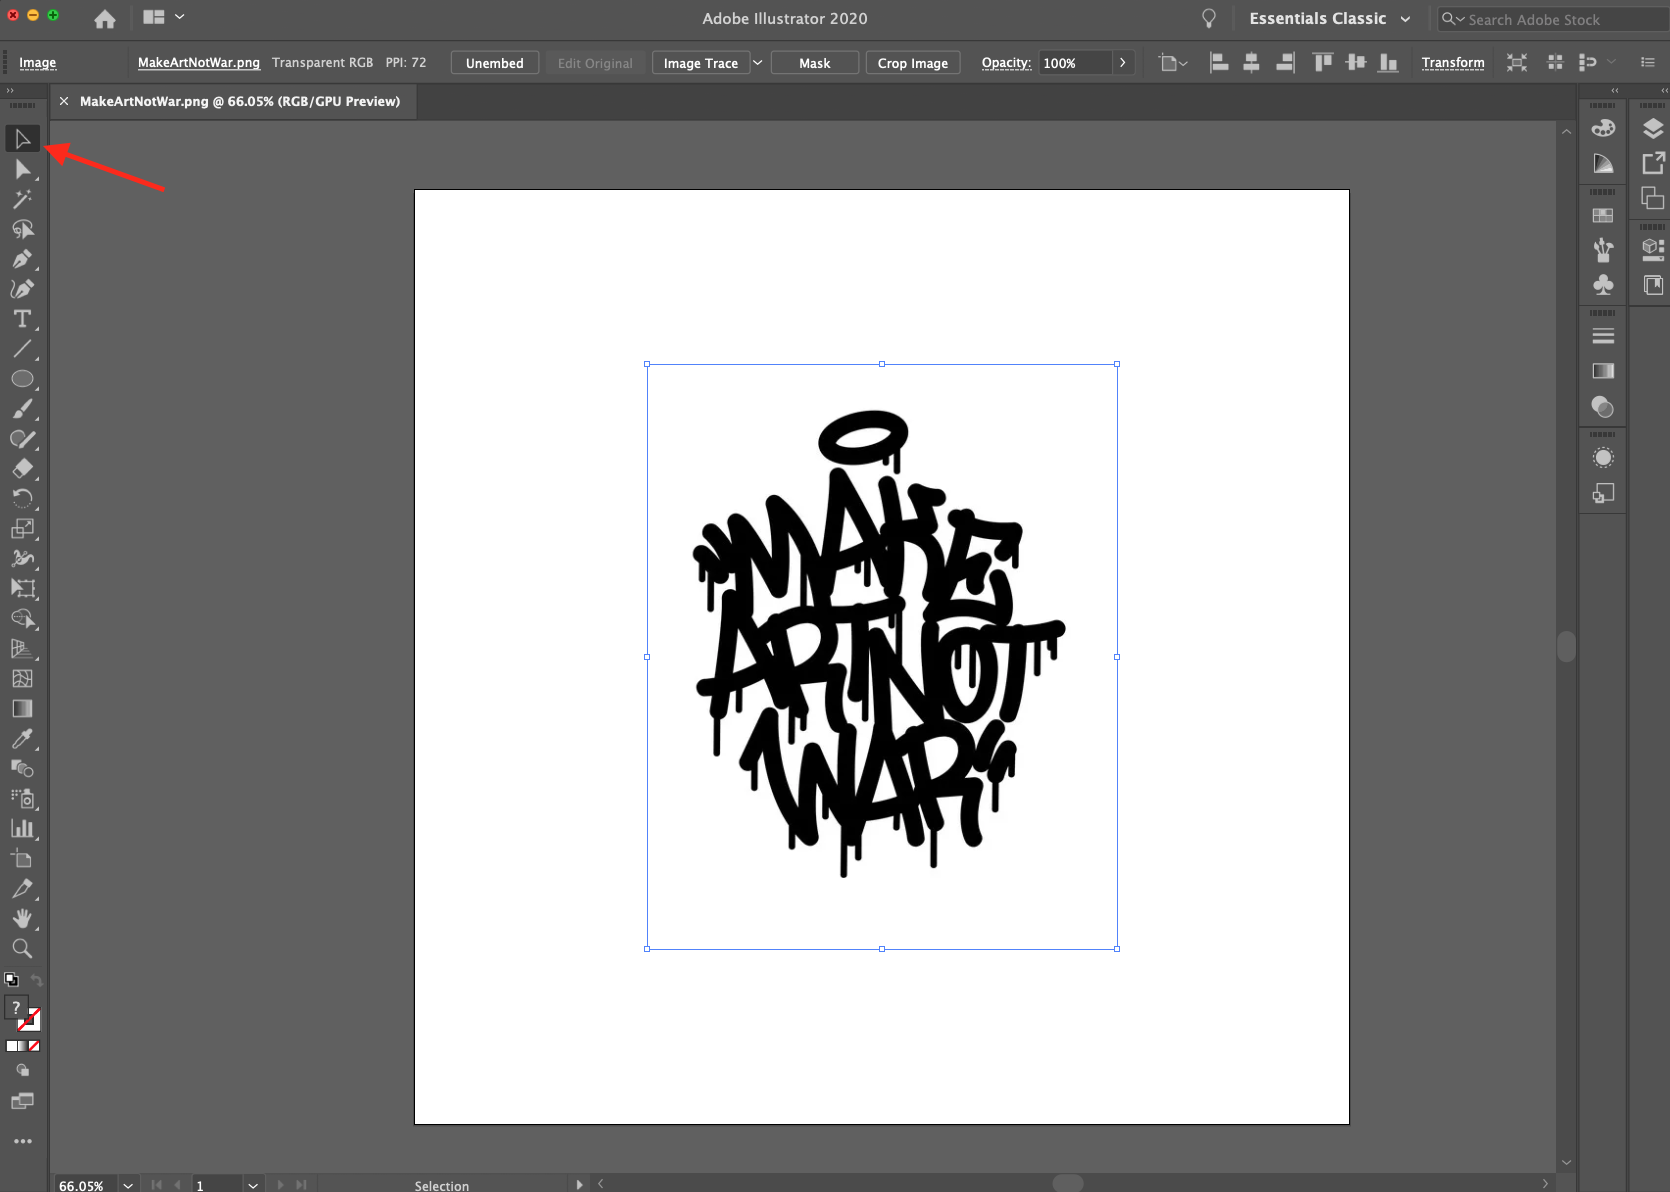
Open your file in Illustrator. Use the Direct Select Tool to select your artwork.
Step 2 - Trace
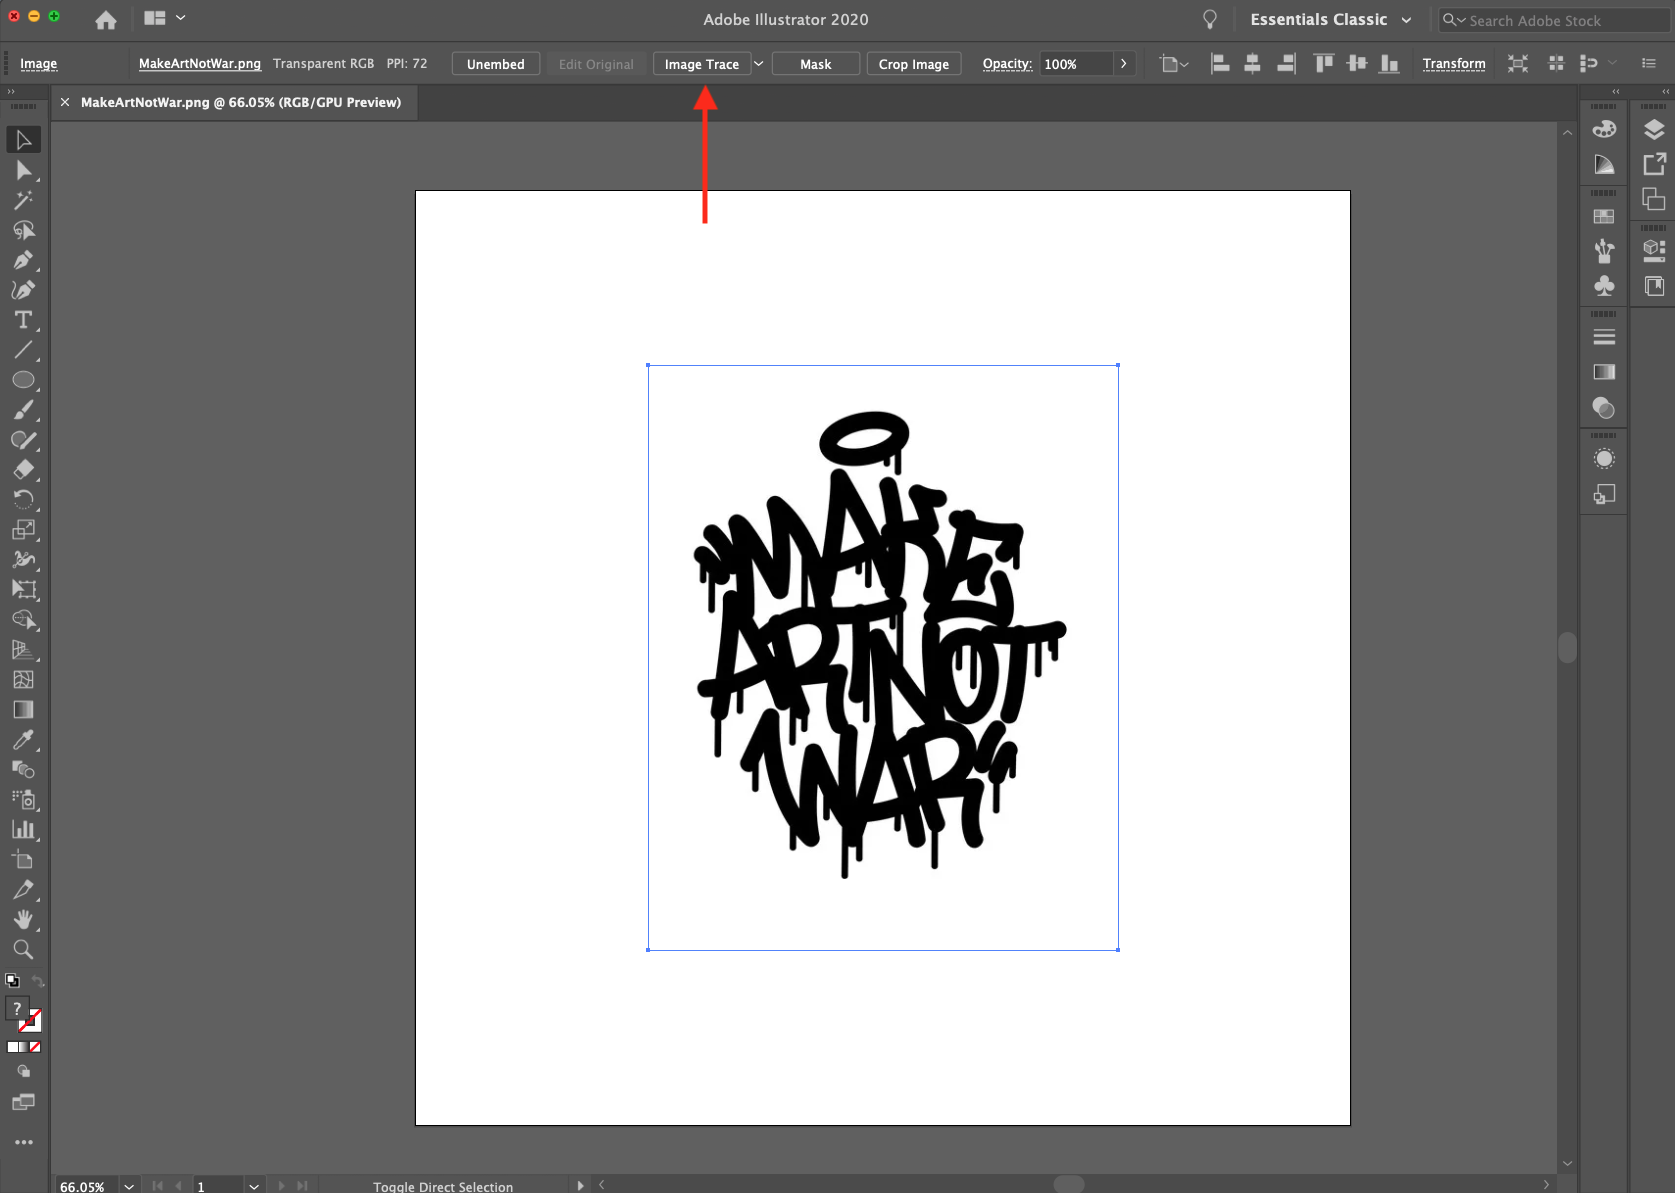
Tracing generates the digital outlines needed to help us precisely print your graphic. If you created your image in Illustrator, these are automatically generated and you can move on to Step 3. If your image was not created in Illustrator you’ll need to trace your image. Click Image Trace in the Control Panel. Sometimes the default presets won’t produce a perfect trace so you may have to edit trace settings from the Image Trace panel (Window > Image Trace).
Step 3 - Expand
When you’re happy with the traced result click Expand in the Control Panel. If you’re using a Mac you can use command Cmd + Shift + O. PC users can use command Shift + Ctrl + O.
Step 4 - Save & Send
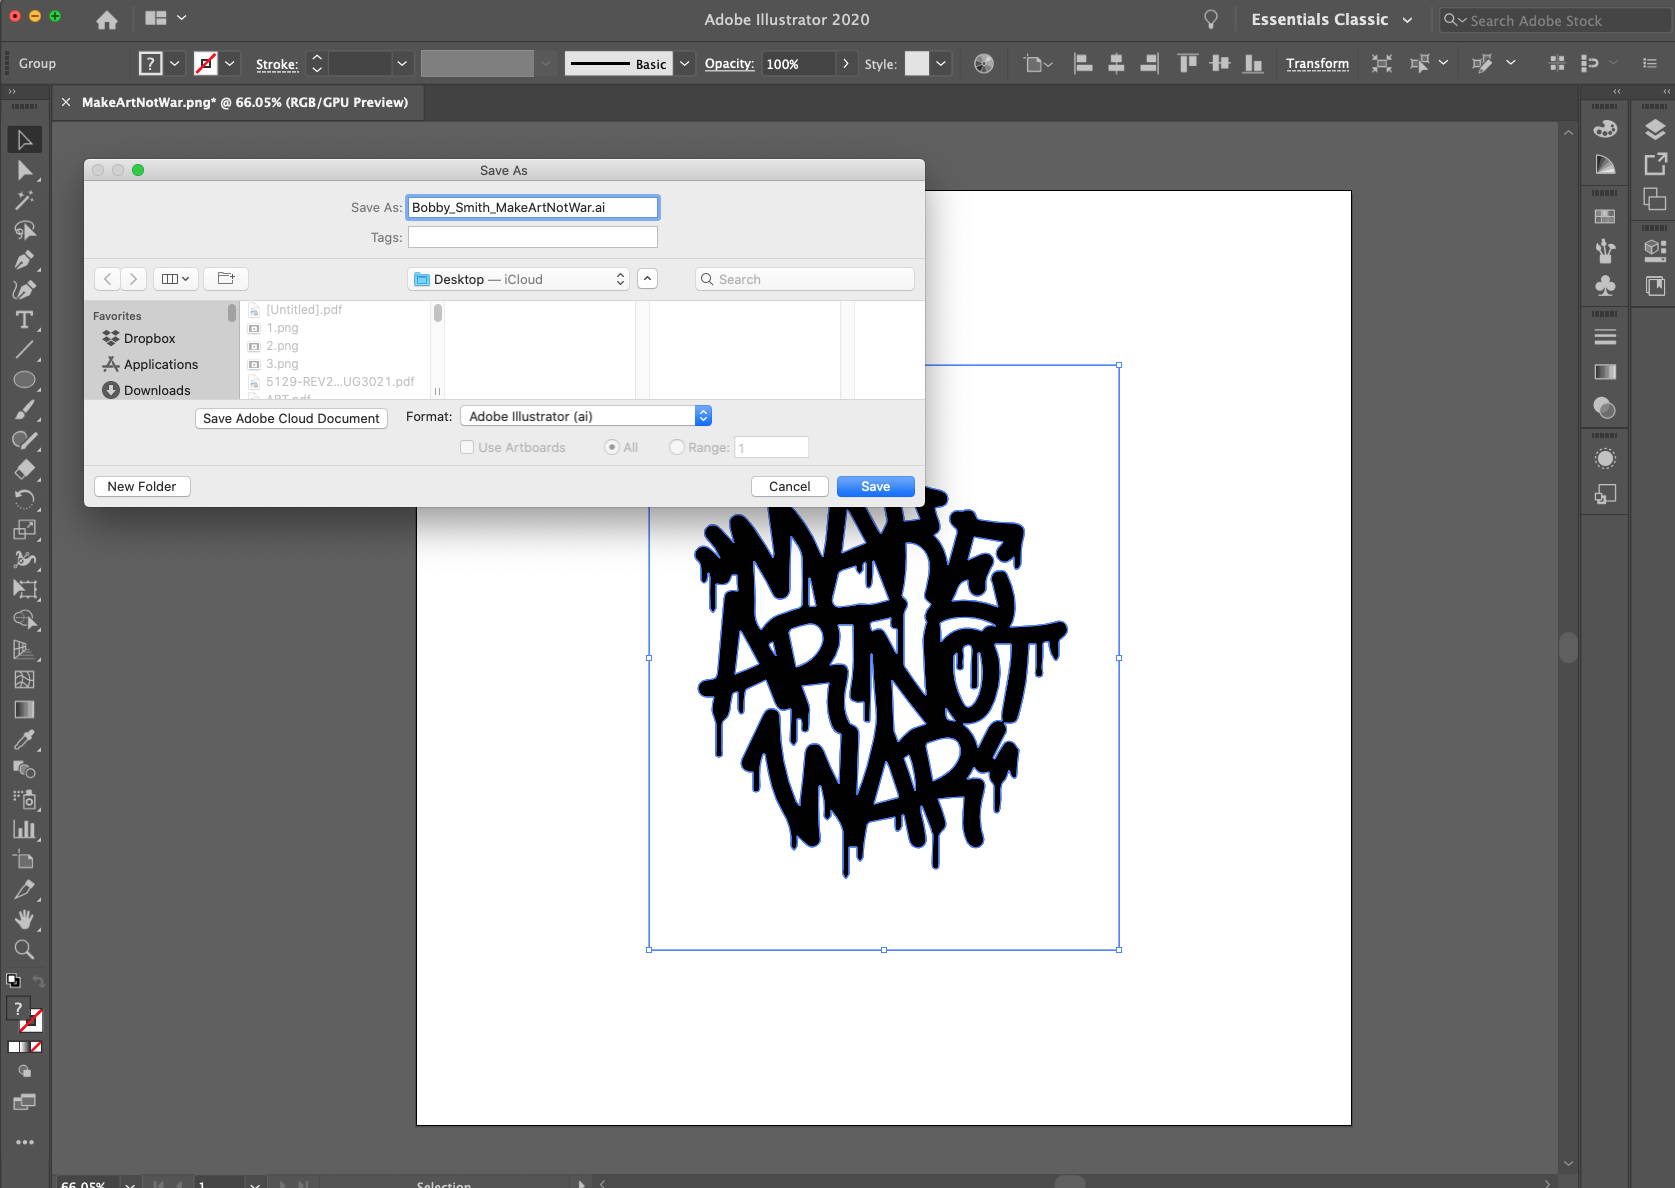
Save your traced graphic with a .ai, .svg, .eps, or .pdf extension before sending it over to us or uploading to our designer! It’s always helpful to name your file with your name and a reference word: Bobby_Smith_MakeArtNotWar.ai