Do you want a photo shirt? A photo of someone you love, a celebrity, a favorite sunset, an inside joke. What about a picture of your child's drawing? The list goes on and on, but you get the idea. Typically, a photo will be either a .jpg or a .png. Sometimes, you'll have a .pdf. We accept all those file types and more! Make sure the photo is named correctly—for example, This-Is-60.jpg or img304958.png. Just avoid having spaces in the name, and that the file extension is there. You'll be fine.
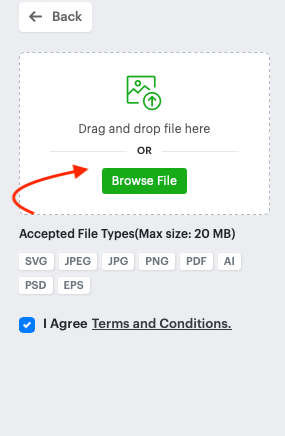
Once you're in the designer, click on Upload Artwork, then browse for your photo or just drop it into the window where it says to. You'll see all the file types we accept, too.
Once your photo loads it will show up on your shirt. You'll be able to resize your image and place it where you want within the bounding box. You'll also see an option to crop your photo to get rid of any unwanted bits.
ADDING A MASK
Now what if you want to make your photo into a shape of some sort? Click on Select Mask.
Then you'll see a bunch of options pop up. Choose the shape you want and then select Settings.
Now, you'll have options to move and resize your photo within the mask to get it just right. Knudge it up or down, left or right. Make the image bigger to fill or smaller to see everything. Play with it! And when you're done, well... click done!! Easy!